Automatically organizes your photos and videos into date-based folders while copying. Ideal for photographers who want their backup neatly organized by shooting date.
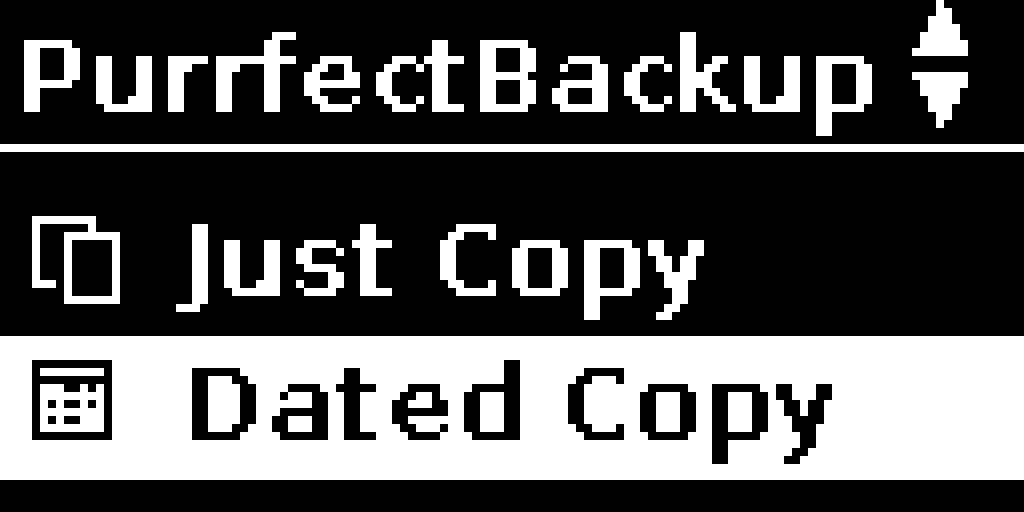
In PurrfectBackup menu select “Dated Copy”
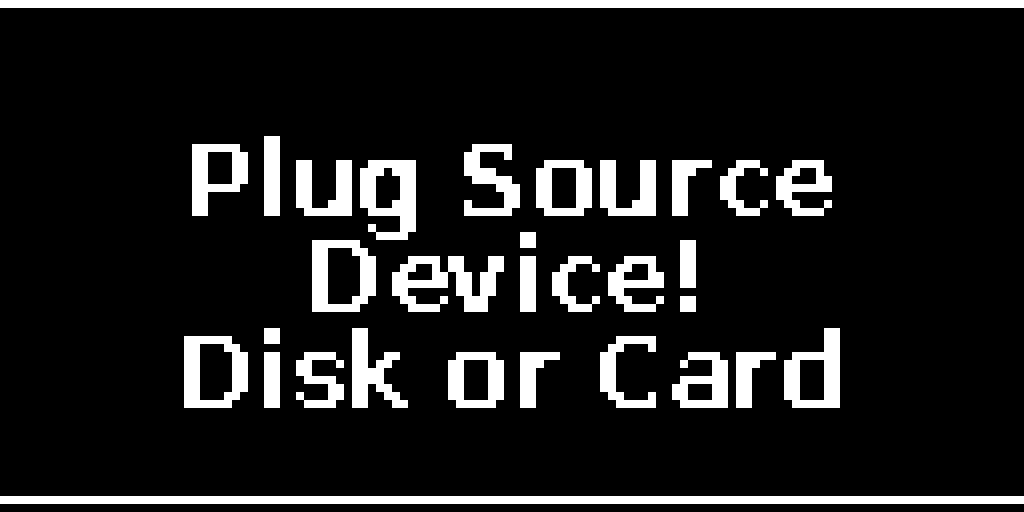
PurrfectBackup will ask you to connect source disk i.e. your SD Card reader
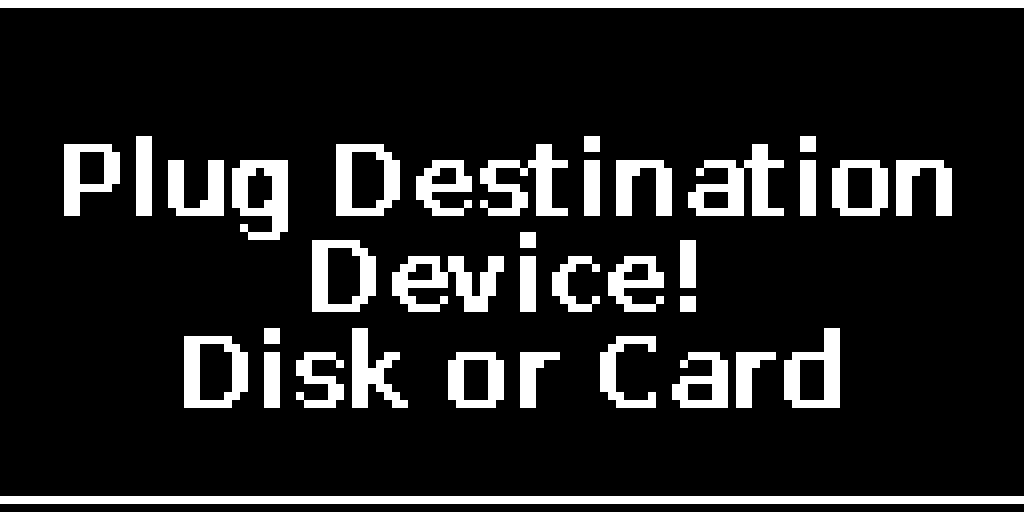
The system will automatically detect your source device once plugged in and asks you to plug in destination drive i.e. you SSD or Hard Drive
If multiple partitions exist, select the one containing your data
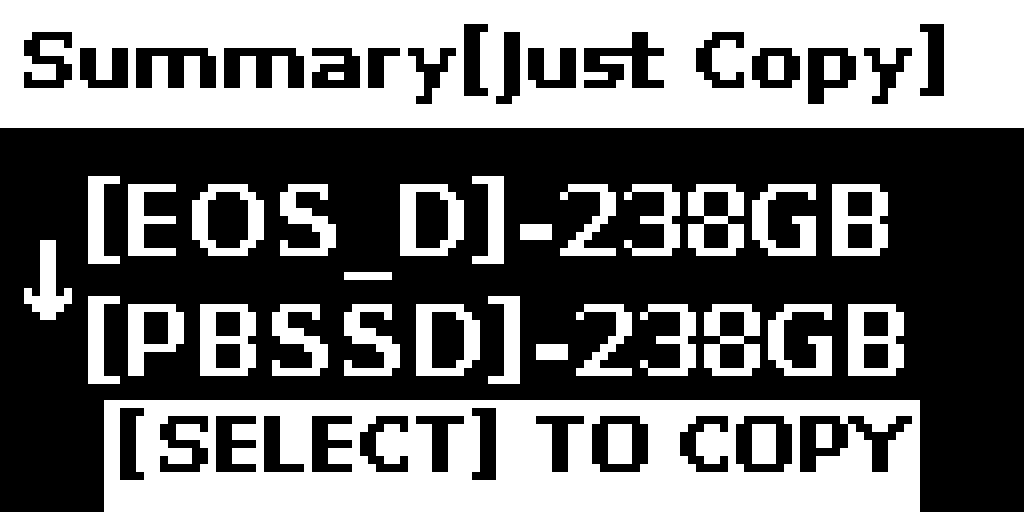
Review the summary screen showing source and destination
for large backups report generation can take several minutes. Reports are available on WebUI
Select Option if you want to skip report generation after copy is completed,
Press “Yes/No” to begin the backup
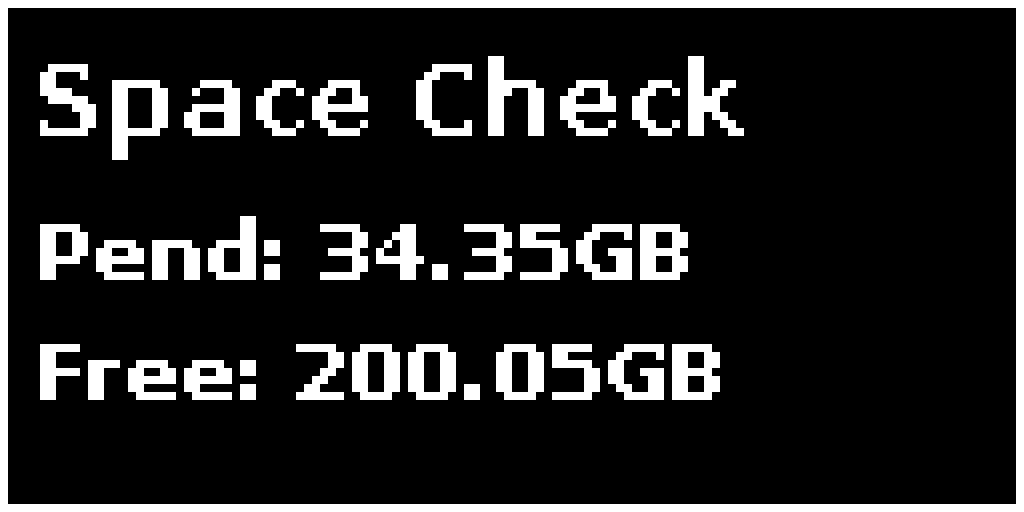
PurrfectBackup Does disk space check
Shows amount of data to be copied (minus which already exists)
Disk space left in destination i.e. your hard disk / SSD
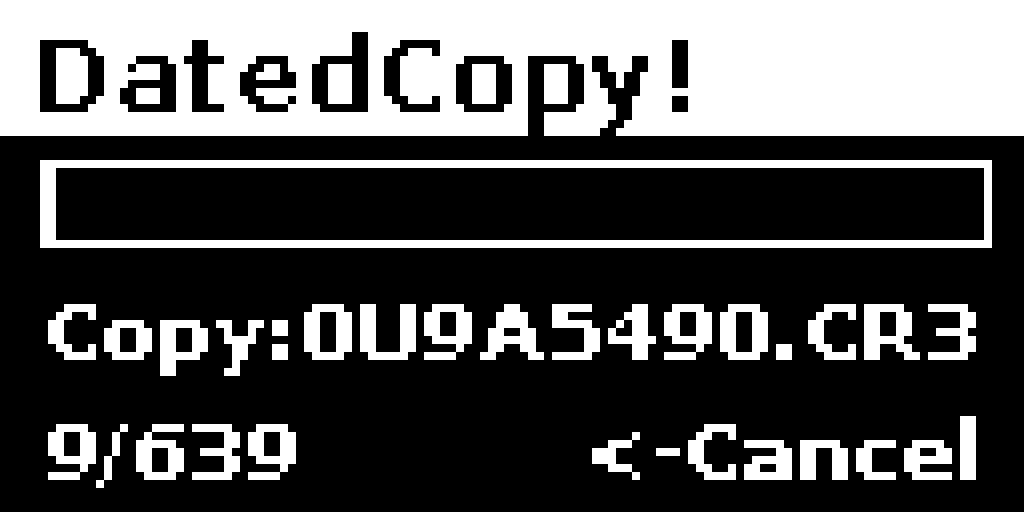
Monitor the progress bar during copying
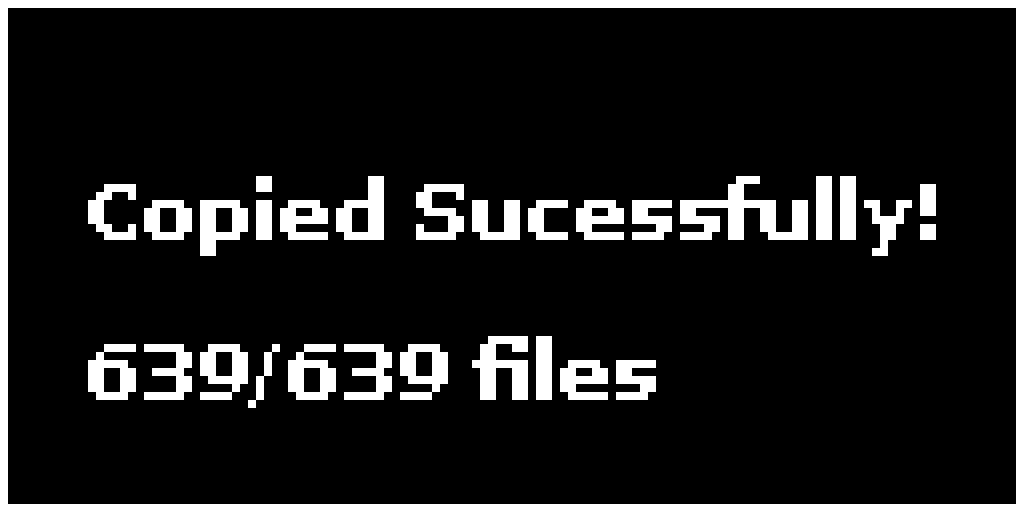
When complete, check the success message and reports
Tip: Just Copy, use when you want to quickly offload your SD Card